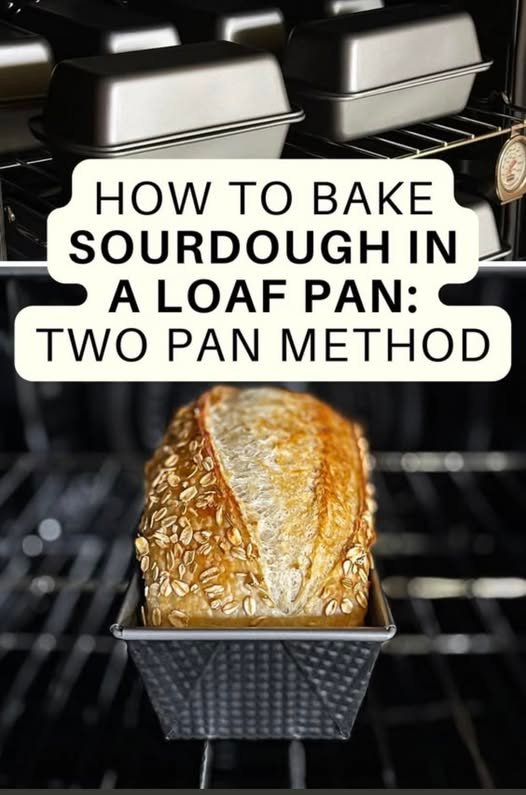
How to Bake Sourdough in a Loaf Pan: Double Loaf Pan Method
Baking sourdough bread is a rewarding experience that brings the satisfying aroma of freshly baked bread into your home and the delicious flavor of a naturally fermented loaf to your table. While traditional artisan sourdough loaves are baked free-form on a baking stone or Dutch oven, using a loaf pan can simplify the process and provide a more uniform, sandwich-friendly shape. One popular technique is the double loaf pan method, which ensures consistent baking, proper oven spring, and a tender crumb.
In this article, we’ll walk you through every step of making a beautiful sourdough loaf in a loaf pan, from preparing the starter to slicing your golden finished bread. Whether you’re a beginner or an experienced baker looking for a foolproof pan method, this guide will help you achieve impressive results every time.
Why Use a Loaf Pan for Sourdough?
Using a loaf pan for sourdough has several advantages:
- Uniform Shape: The pan gives your loaf a consistent rectangular shape, ideal for sandwiches or neatly sliced pieces.
- Even Baking: The metal pan conducts heat evenly, reducing the risk of undercooked centers or overly thick crusts.
- Ease of Handling: A loaf pan is easier to manage than free-form dough, especially for bakers who may be less confident in shaping techniques.
- Better Oven Spring Control: The sides of the pan help support the dough, encouraging a good rise while preventing excessive spreading.
The double loaf pan method takes these advantages further by placing a second loaf pan on top of the dough during the initial baking phase. This technique gently presses the dough down, controlling the oven spring and creating a uniform crust and internal structure.
Ingredients for a Loaf Pan Sourdough
Before we start, make sure you have the following ingredients on hand:
- 500g bread flour (or a mix of bread and whole wheat flour)
- 350g water (about 70% hydration)
- 100g active sourdough starter (fed and bubbly)
- 10g salt
Optional additions: seeds, oats, herbs, or dried fruit.
Equipment You’ll Need
- 2 standard loaf pans (8×4-inch or 9×5-inch)
- Large mixing bowl
- Bench scraper or spatula
- Digital scale (highly recommended for accurate measurements)
- Plastic wrap or a clean towel
- Oven and oven mitts
Step 1: Feed Your Starter
The first step to a successful sourdough loaf is a healthy, active starter. Feed your starter 4–6 hours before you plan to mix your dough so it is bubbly and at its peak activity. A strong starter ensures a good rise and a tangy, flavorful crumb.
Step 2: Mix the Dough
- In a large bowl, combine the flour and water. Mix until no dry flour remains. This is called the autolyse stage and allows the flour to fully hydrate, improving gluten development.
- Cover the bowl and let it rest for 30–60 minutes.
- Add the active starter and salt to the dough. Mix thoroughly until all ingredients are well incorporated. You can use a folding method or knead lightly by hand.
Step 3: Bulk Fermentation
During bulk fermentation, the dough will develop flavor and structure.
- Cover the bowl with a towel or plastic wrap.
- Over the next 3–4 hours, perform stretch and folds every 30 minutes. To do this, reach under the dough, stretch one side, and fold it over the center. Rotate and repeat for all four sides.
- The dough is ready for shaping when it has roughly doubled in size, has a smooth surface, and passes the poke test: gently press a finger into the dough—if the indentation springs back slowly, it’s ready.
Step 4: Pre-Shaping
- Turn the dough out onto a lightly floured surface.
- Divide it into two equal portions if making two loaves.
- Gently pre-shape each piece into a loose rectangle and let it rest for 15–20 minutes to relax the gluten.
Step 5: Final Shaping and Pan Placement
- Take one portion of dough and shape it into a tight log slightly smaller than your loaf pan. This allows room for expansion.
- Place the dough into a greased or parchment-lined loaf pan.
- Repeat with the second portion in the other pan.
- Optional: Lightly score the top of each loaf with a sharp knife or razor for an attractive finish and controlled expansion.
Step 6: Double Loaf Pan Method
Here’s where the double loaf pan technique comes in:
- Place the second loaf pan upside down directly on top of the dough in the first pan.
- This top pan gently presses down on the dough as it begins to bake, helping maintain a uniform shape.
- The top pan also slows oven spring slightly, resulting in a more tender crumb and even crust.
Step 7: Baking
- Preheat your oven to 220°C (425°F).
- Place both pans (the bottom pan with dough and the top pan pressing down) in the oven.
- Bake for 20 minutes with the top pan in place.
- Carefully remove the top pan, then bake for an additional 20–25 minutes until the crust is golden brown and the internal temperature reaches about 95°C (203°F).
- Remove the loaves from the pans and let them cool completely on a wire rack for at least 1 hour before slicing.
Step 8: Tips for Success
- Hydration Control: Higher hydration doughs are softer and more flavorful but can be trickier to handle. Stick to 65–70% hydration for loaf pans.
- Pan Preparation: Lightly grease the pans or use parchment paper to prevent sticking.
- Steam: For a crisper crust, you can place a small pan of water in the oven to create steam during the first 10–15 minutes of baking.
- Patience: Cooling is essential. Cutting too early can result in a gummy crumb.
Flavor Variations
While classic sourdough is delicious on its own, you can experiment with:
- Herb and Garlic: Add rosemary, thyme, or minced garlic to the dough for a savory loaf.
- Seeded Loaf: Incorporate sunflower seeds, flaxseeds, or sesame seeds for added texture.
- Whole Wheat Sourdough: Replace 25–50% of bread flour with whole wheat flour for a richer flavor.
- Cheese Loaf: Fold in shredded cheddar or parmesan for a flavorful twist.
Storage and Shelf Life
- Store at room temperature in a bread bag or airtight container for 2–3 days.
- Freeze slices or whole loaves for up to 3 months; thaw at room temperature or lightly toast.
Benefits of Sourdough
Sourdough isn’t just delicious—it’s also nutritious. The natural fermentation process:
- Breaks down gluten and makes it easier to digest
- Increases nutrient availability
- Adds beneficial lactic acid bacteria
- Provides a longer shelf life compared to other breads
Final Thoughts
Baking sourdough in a loaf pan using the double loaf pan method is an excellent way to achieve a reliable, uniform loaf without sacrificing flavor or texture. By controlling oven spring and providing support during baking, the top pan ensures an even rise, tender crumb, and beautiful golden crust.
With this step-by-step guide, you can confidently bake sandwich-ready sourdough loaves at home, experiment with flavors, and enjoy the satisfaction of homemade bread. Whether for breakfast, lunch, or dinner, a fresh loaf of sourdough baked in a pan is sure to impress family and friends alike.